


Causes of Embroidery Needle Breaks and Easy Fixes
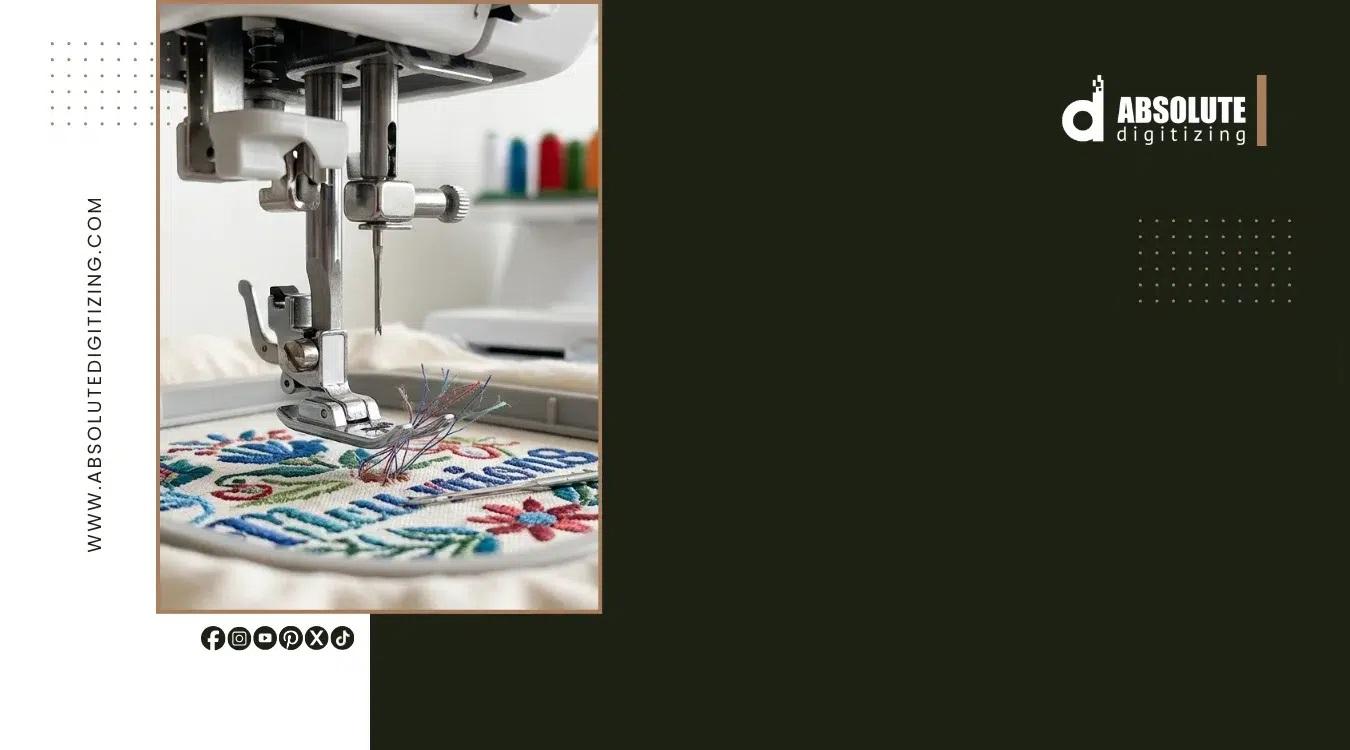
A broken embroidery needle can stop a project in seconds. One moment, your machine is stitching smoothly; the next, you hear a sharp snap and have to stop everything. If this happens often, finding the real problem is more important than simply replacing the needle.
There are several common causes of embroidery needle breaks, including the wrong needle size, incorrect installation, excessive stitch density, improper hooping, thread problems, and design issues. The good news is that most of these problems can be identified and corrected with a few simple checks.
Whether you're working on a small home project or producing embroidered garments for customers, understanding why needles break can save time, thread, fabric, and frustration.
Why Do Embroidery Needles Break?
An embroidery needle travels through fabric thousands of times during a single design. It needs to move smoothly through the material while carrying thread and following the programmed stitch path.
When something interferes with that movement, the needle can bend, hit another part of the machine, or experience excessive pressure. Eventually, it may break.
The most common causes include:
- Incorrect needle size
- Wrong needle type
- Damaged or bent needle
- Needle installed incorrectly
- Excessive embroidery speed
- Incorrect thread tension
- Dense stitch areas
- Improper hooping
- Incorrect design settings
- Thread or fabric problems
- Machine timing or mechanical issues
Let's look at each cause more closely.
1. Using the Wrong Needle Size
One of the most common causes of embroidery needle breaks is using a needle that isn't suitable for the fabric, thread, or design.
A needle that is too small may struggle to carry thicker thread. A needle that is too large can leave unnecessarily large holes in lightweight fabric.
The correct needle size depends on the project.
For example, lightweight materials usually need a finer needle, while heavier fabrics may require a larger needle.
How to Fix It
Check the needle recommendations for your fabric and thread. If you're unsure, test a suitable needle size on a scrap piece of the same material before starting the final project.
2. Choosing the Wrong Needle Type
Not every embroidery needle is designed for every material.
Different fabrics can require different needle points and construction. Using an unsuitable needle can increase resistance and make breakage more likely.
For embroidery projects, consider:
- Fabric type
- Fabric thickness
- Thread weight
- Embroidery design density
- Type of embroidery being produced
Using a needle designed for the material gives the thread and needle a better path through the fabric.
3. The Needle Is Bent or Damaged
A needle doesn't have to look completely broken to cause trouble.
A slightly bent needle can strike the needle plate, presser foot, hook, or another machine component. It may also create skipped stitches or unusual thread behavior.
Warning Signs
Replace the needle if you notice:
- A visible bend
- A damaged point
- Scratches or burrs
- Unusual noise
- Repeated skipped stitches
- Frequent thread breaks
When in doubt, replacing a questionable needle is usually cheaper than risking damage to the machine or fabric.
4. The Needle Was Installed Incorrectly
Even a brand-new needle can break if it isn't installed correctly.
If the needle isn't pushed fully into the needle bar or is facing the wrong direction, its position can interfere with the machine's movement.
How to Fix It
Turn off the machine before handling the needle.
Then:
- Remove the damaged needle.
- Insert the replacement according to the machine's instructions.
- Push it fully upward.
- Tighten the needle screw securely.
- Confirm the needle orientation is correct.
- Slowly turn or jog the machine if appropriate to make sure there is adequate clearance.
Never force the machine to run if the needle appears misaligned.
5. Embroidery Speed Is Too High
Running an embroidery machine at maximum speed isn't always the best choice.
High-speed stitching increases the movement and forces acting on the needle. Dense areas, thick fabrics, metallic threads, and complex designs can become more difficult at high speeds.
Try This
Reduce the machine speed and observe whether the problem improves.
Slowing down can be particularly helpful when working with:
- Thick materials
- Dense designs
- Small lettering
- Metallic or specialty threads
- Multiple fabric layers
A slightly slower machine can produce a much smoother stitch-out.
6. Incorrect Thread Tension
Thread tension controls how the upper thread and bobbin thread interact.
If tension is significantly too tight, the needle and thread can experience additional stress. Poor tension can also lead to looping, thread breaks, uneven stitches, or fabric distortion.
Check Your Tension
Before changing tension dramatically, test the machine using a known-good thread and bobbin.
Make small adjustments rather than turning the tension control aggressively. If the machine has a recommended tension range, use that as your starting point.
7. The Embroidery Design Is Too Dense
A design with too many stitches packed into a small area can put extra stress on the needle.
This is particularly common with:
- Small lettering
- Thick satin columns
- Overlapping objects
- Multiple layers of fill
- Poorly digitized designs
When a needle repeatedly passes through a heavily stitched area, resistance can increase.
The Better Solution
Don't automatically solve density problems by changing the needle.
Inspect the embroidery design itself. Reducing unnecessary stitches or improving the digitizing can make a significant difference.
This is where professional embroidery digitizing can be valuable.
8. Improper Hooping
Fabric needs to be held securely during embroidery.
If the material is loose, overly stretched, or incorrectly positioned in the hoop, it can move while the needle is stitching.
Poor hooping can contribute to:
- Needle deflection
- Registration problems
- Puckering
- Uneven stitches
- Needle breakage
The fabric should be secure without being stretched unnaturally.
9. Too Many Layers of Fabric
Every additional layer increases the amount of material the needle must penetrate.
This can become especially important when embroidering:
- Thick jackets
- Heavy denim
- Multiple stabilizer layers
- Patches
- Quilted materials
- Structured garments
If your project contains several layers, choose a needle appropriate for the material and reduce the machine speed if necessary.
10. Stabilizer Problems
Stabilizer provides support during embroidery, but using the wrong amount or type can affect stitching.
Too little stabilization may allow excessive fabric movement. Too much material can increase resistance.
The appropriate stabilizer depends on the fabric and embroidery application.
For example, lightweight garments, towels, caps, and stretchy fabrics may require different stabilization approaches.
11. The Needle Is Hitting the Hoop
A needle that comes into contact with the hoop can break instantly.
This may happen when:
- The design is positioned incorrectly.
- The hoop is too close to the stitching area.
- The wrong hoop is selected.
- The design exceeds the safe embroidery area.
- The machine is incorrectly configured.
Always verify that the design fits comfortably within the machine's embroidery area before stitching.
12. Thread Problems
Thread can also contribute to needle issues.
Old, damaged, or unsuitable thread may create inconsistent tension and increase friction.
Watch for:
- Frayed thread
- Weak thread
- Excessive lint
- Knots
- Incorrect thread weight
- Poor-quality specialty thread
Store embroidery thread properly and use thread that matches the requirements of your project.
13. Bobbin Problems
Although bobbin issues don't always directly cause needle breakage, incorrect bobbin installation can contribute to poor stitching and tension problems.
Check that:
- The bobbin is wound evenly.
- The bobbin is inserted correctly.
- The bobbin case is clean.
- The bobbin thread is suitable.
- There is no lint buildup around the bobbin area.
A clean, correctly installed bobbin system helps the machine stitch more consistently.
14. Incorrect Embroidery Design Settings
Sometimes the machine isn't the problem—the design is.
A poorly prepared embroidery file may contain excessive jumps, very short stitches, overlapping objects, or inappropriate stitch densities.
These issues can cause the needle to work harder than necessary.
Before production, inspect the design using your embroidery software and look for unusual stitch patterns.
15. Machine Timing or Mechanical Problems
If you've replaced the needle, checked the thread, reduced the speed, and inspected the design but needles still break, the machine itself may need attention.
Potential mechanical causes include:
- Incorrect hook timing
- Damaged needle plate
- Worn hook components
- Presser-foot clearance issues
- Loose machine components
- Mechanical misalignment
If the problem continues, stop operating the machine and have it inspected by a qualified technician.
How to Prevent Embroidery Needle Breaks
Prevention is much easier than repeatedly stopping production.
Before starting a project, use this quick checklist:
- Select the correct needle.
- Install it correctly.
- Replace worn or damaged needles.
- Match the needle to the fabric and thread.
- Check upper-thread tension.
- Confirm the bobbin is installed correctly.
- Hoop the fabric properly.
- Check the design's size and placement.
- Inspect dense areas.
- Start at a reasonable stitching speed.
- Test the design before bulk production.
- Keep the machine clean and maintained.
How Often Should You Change an Embroidery Needle?
There isn't one exact replacement interval for every project.
Needle life depends on factors such as fabric, design density, machine speed, thread type, and production volume.
Instead of waiting for a needle to break, replace it when you notice signs of wear or when your machine manufacturer's guidance recommends replacement.
For production work, keeping a consistent needle replacement schedule can help prevent unexpected interruptions.
What to Do When a Needle Breaks
Don't immediately restart the machine.
First, stop the machine and remove the broken needle carefully. Look for all pieces of the broken needle because a small fragment can remain near the needle plate or bobbin area.
Then inspect:
- The needle plate
- Presser foot
- Bobbin area
- Hoop
- Thread path
- Embroidery design
Install a new needle and identify the reason for the break before continuing.
If the needle broke because it hit the hoop or another machine component, restarting without investigating could cause another break—or worse, machine damage.
When Professional Digitizing Can Help
If needle breaks happen repeatedly in the same area of an embroidery design, the design itself may be the problem.
A professional digitizer can inspect stitch density, sequencing, underlay, stitch lengths, and object overlaps.
Absolute Digitizing can help prepare embroidery artwork with stitch behavior and production requirements in mind, reducing problems that may occur when a design is poorly digitized.
Frequently Asked Questions
What are the most common causes of embroidery needle breaks?
Common causes include the wrong needle size or type, incorrect installation, dense designs, improper hooping, excessive speed, thread tension problems, and mechanical issues.
Can embroidery design density cause needle breaks?
Yes. Excessive stitch density can create heavy thread buildup and increase resistance as the needle penetrates the fabric. Proper digitizing can help reduce this problem.
Why does my embroidery needle keep breaking in the same spot?
If the needle repeatedly breaks in one area, check for excessive stitch density, overlapping objects, thick sections, incorrect stitch settings, or a mechanical clearance problem.
Does embroidery speed affect needle breakage?
Yes. High speeds can increase stress on the needle, especially with thick fabrics, dense designs, and specialty threads. Reducing speed can sometimes improve stitching stability.
Should I keep using a needle after it bends?
No. A bent or damaged needle should be replaced. Continuing to use it can cause skipped stitches, thread problems, poor embroidery quality, or contact with machine components.
Conclusion
Understanding the causes of embroidery needle breaks can save you from repeated interruptions and unnecessary frustration. A broken needle is often a sign that something needs attention, whether it's the needle itself, the thread, fabric, hooping, embroidery settings, or machine.
Start with the simple checks: use the right needle, install it correctly, inspect your thread, secure the fabric, and check the design for excessive density. If the problem continues, investigate the machine and consider having the embroidery file professionally reviewed.
A little troubleshooting before production can go a long way toward smoother stitching, cleaner designs, and fewer broken needles.
Categorias
Leia Mais
Market Overview The ophthalmic disease therapeutic market continues to expand as aging populations and rising rates of diabetes drive demand for treatments addressing retinal and corneal conditions. The Ophthalmic Disease Therapeutic Market is projected to grow through 2030, driven by innovation in intravitreal injections, gene therapy research, and increasing screening for age-related macular...

Market Overview The Sports Nutrition Energy Gel Market is growing as endurance sports participation rises and athletes increasingly seek convenient, fast-absorbing carbohydrate sources during training and competition. Marathon runners, cyclists, triathletes, and recreational fitness enthusiasts alike are driving demand for portable, easily digestible energy gel products. Current Market...
The future of the Spain Contract Research Organization Market will be defined by continued innovation, digitalization, and expanding applications across oncology, rare diseases, and early-phase trials. The market is projected to grow at a 6.58% CAGR from 2025 to 2035, driven by technological advancements and increasing demand for outsourcing . This growth trajectory reflects the...
The G Protein Coupled Receptors GPCRs Market was valued at USD 40.6 billion in 2025 and is projected to grow to USD 60 billion by 2035, registering a CAGR of 4% during the forecast period. This significant growth trajectory reflects the essential role of GPCRs in addressing the demand for innovative therapeutic solutions, improved patient outcomes, and advanced drug discovery across the global...
Anticoagulants, often called blood thinners, are among the most consequential medications in modern medicine. They prevent dangerous clots that can cause heart attacks, strokes, and pulmonary embolisms — conditions that claim hundreds of thousands of American lives each year. From patients with atrial fibrillation to those recovering from surgery, anticoagulation therapy is a cornerstone...